Pre-workshop assignment: Uploading a coding project to GitHub
Last updated on 2025-03-25 | Edit this page
Estimated time: 50 minutes
Overview
Questions
- How do I share my changes with others on the web?
Objectives
- Create a repository on GitHub
- Push to or pull from a remote repository
Install Git and create a GitHub account
You are going to add your existing project to GitHub. This is important for multiple reasons:
Your project will be under version control. This means that you and others can from now on track the exact history of changes.
You will have an external copy of your code on GitHub. If for some reason you lose your local copy, you can always ‘clone’ the repository on GitHub back to your local system (to continue working there).
By publishing your code on GitHub, your code is now available for others for re-use.
The exercises on this page should be done before the workshop. This will help us to focus on improving the code during the workshop day. You will need approximately one hour to finish this pre-workshop assignment.
Please let us know if you are stuck or have any questions by emailing s.vanderburg@esciencecenter.nl and e.klapwijk@essb.eur.nl.
Exercise: Install Git and create a GitHub account
You need to have Git installed on your local system:
Install Git
Create a GitHub account
You will need an account for GitHub to publish your code there.
- To sign up for an account, navigate to https://github.com/ and follow the prompts.
- Verify your email address.
- Configure GitHub authentication.
Optional exercise: My code is already on GitHub
If your code is already on GitHub you can explore the following topics:
- Familiarize yourself with the basics of
git - Learn more about
.gitignorefiles - If you already know the basics of
git, familiarize yourself with best practices in using git with this lesson. This lesson assumes you have some project with changes to it, you can make some changes in your project to mimic the lesson.
Pushing existing code to GitHub
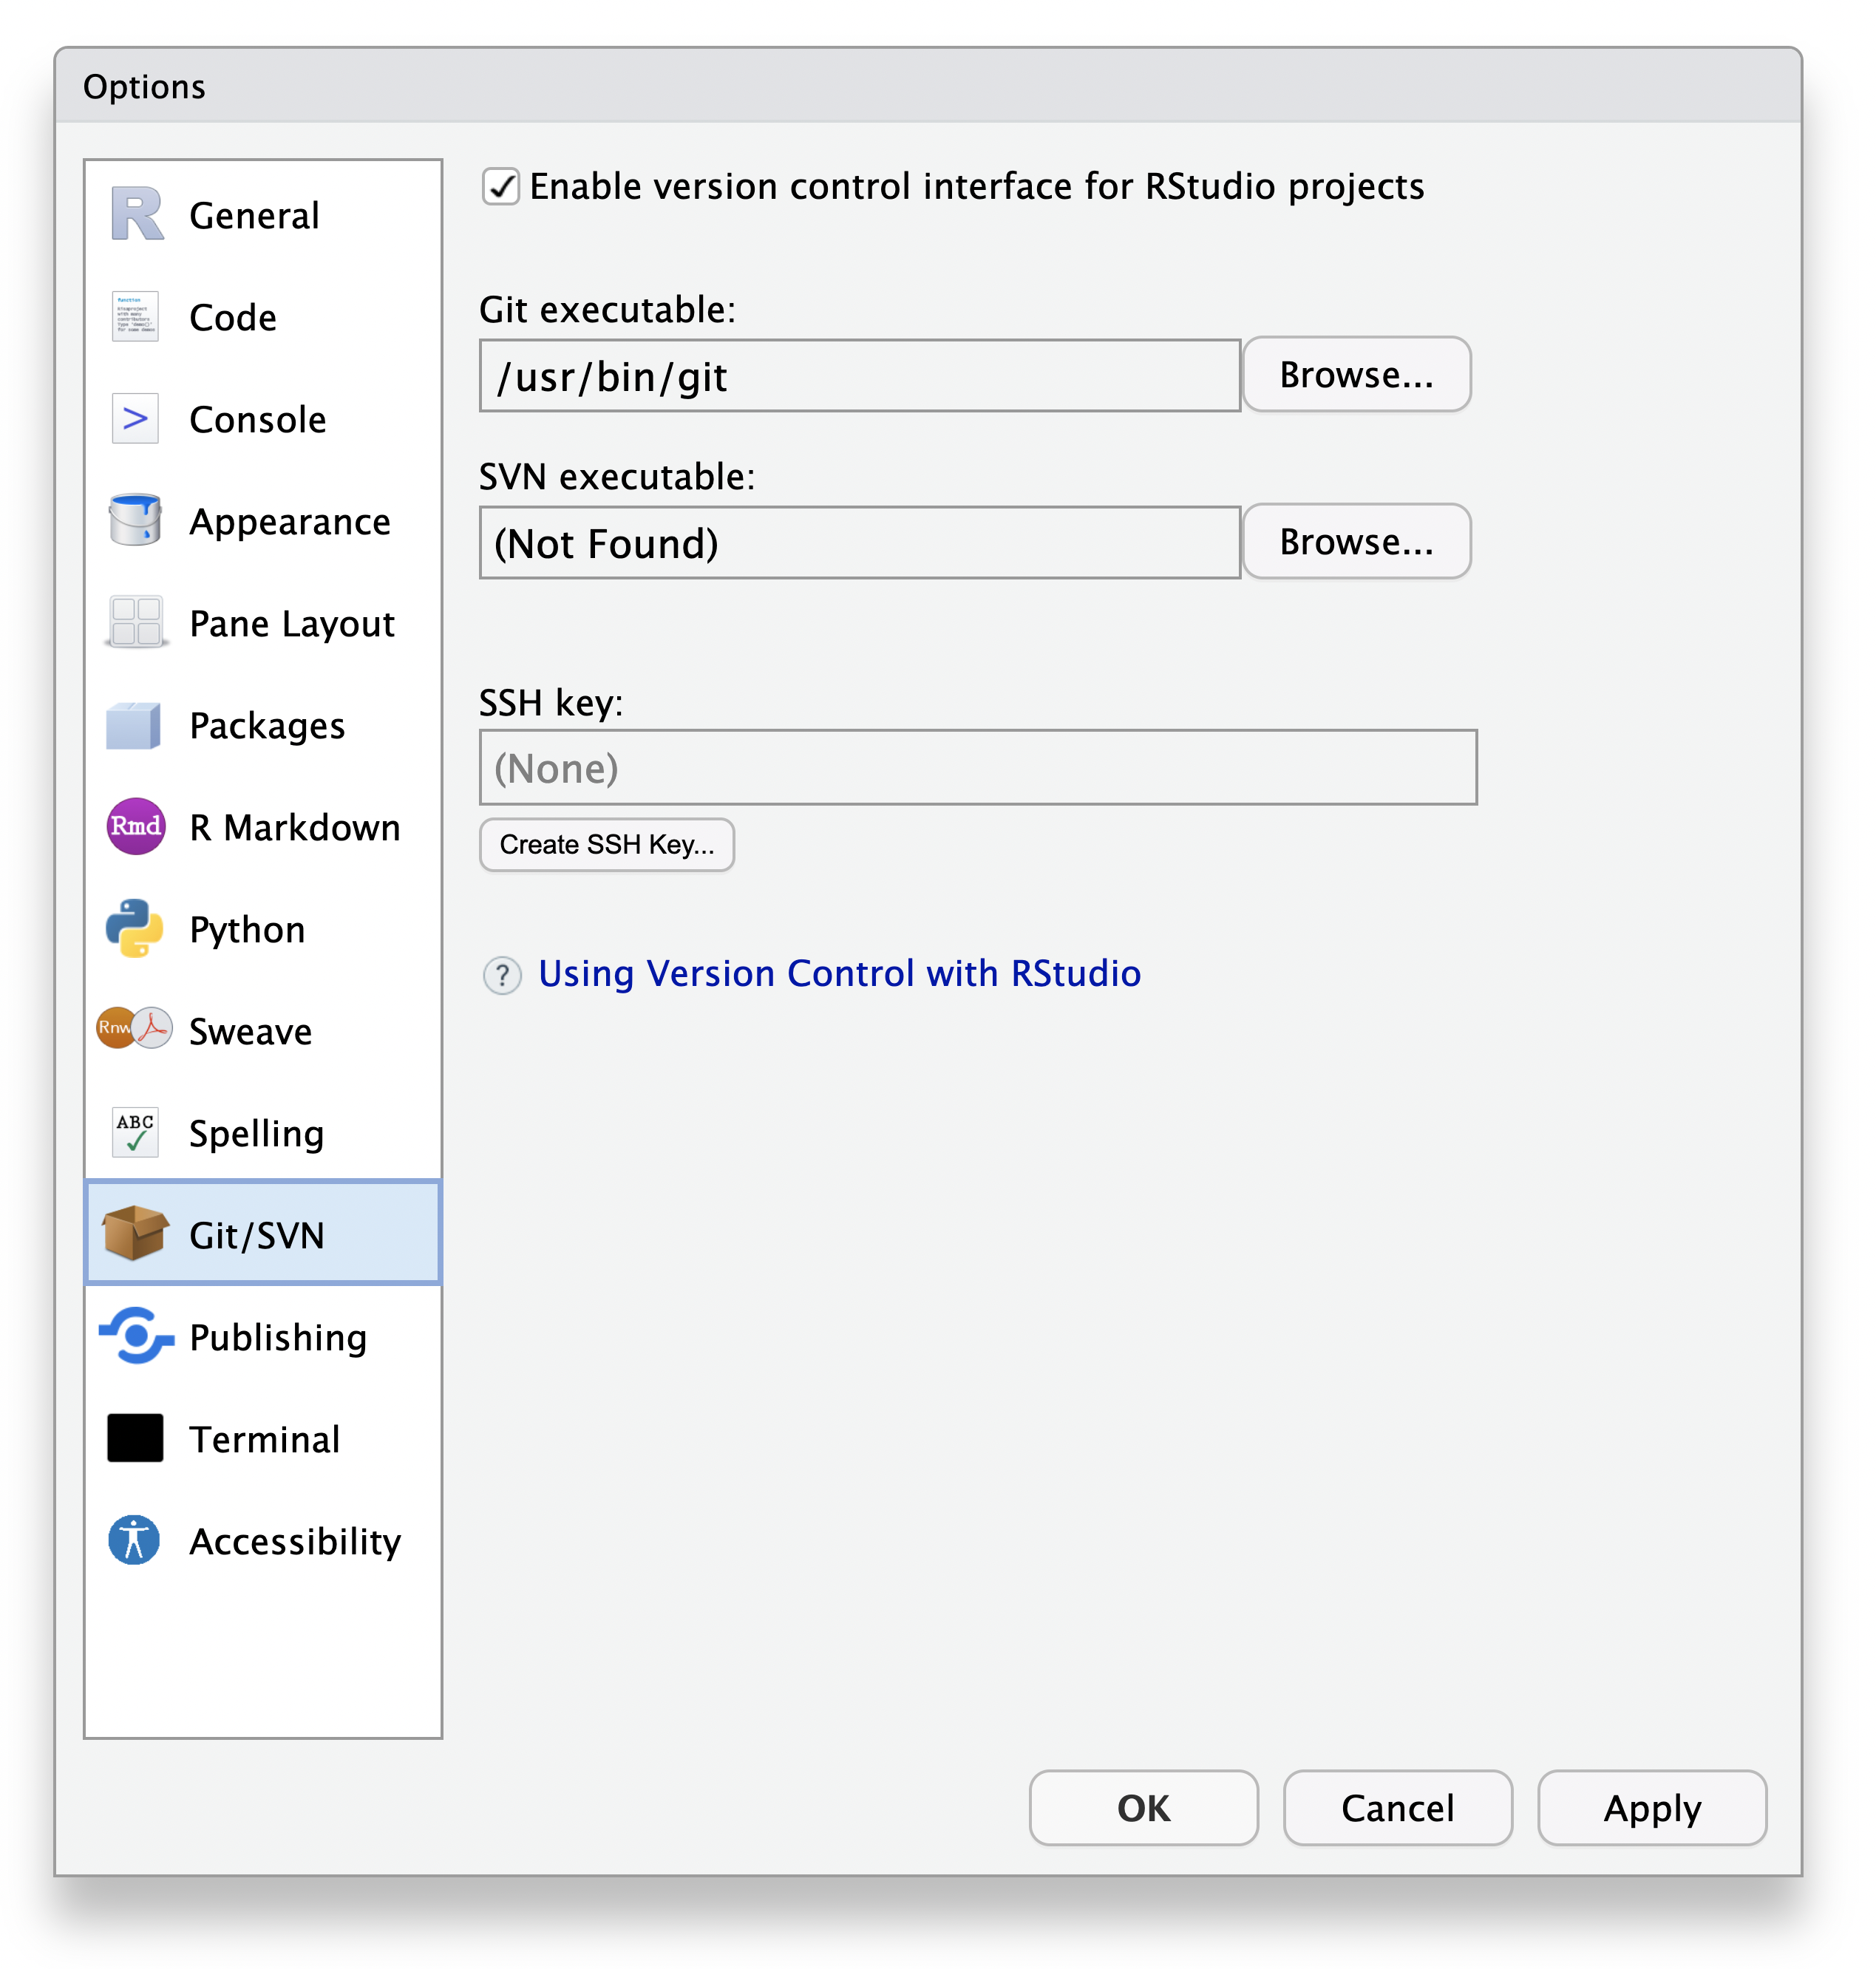
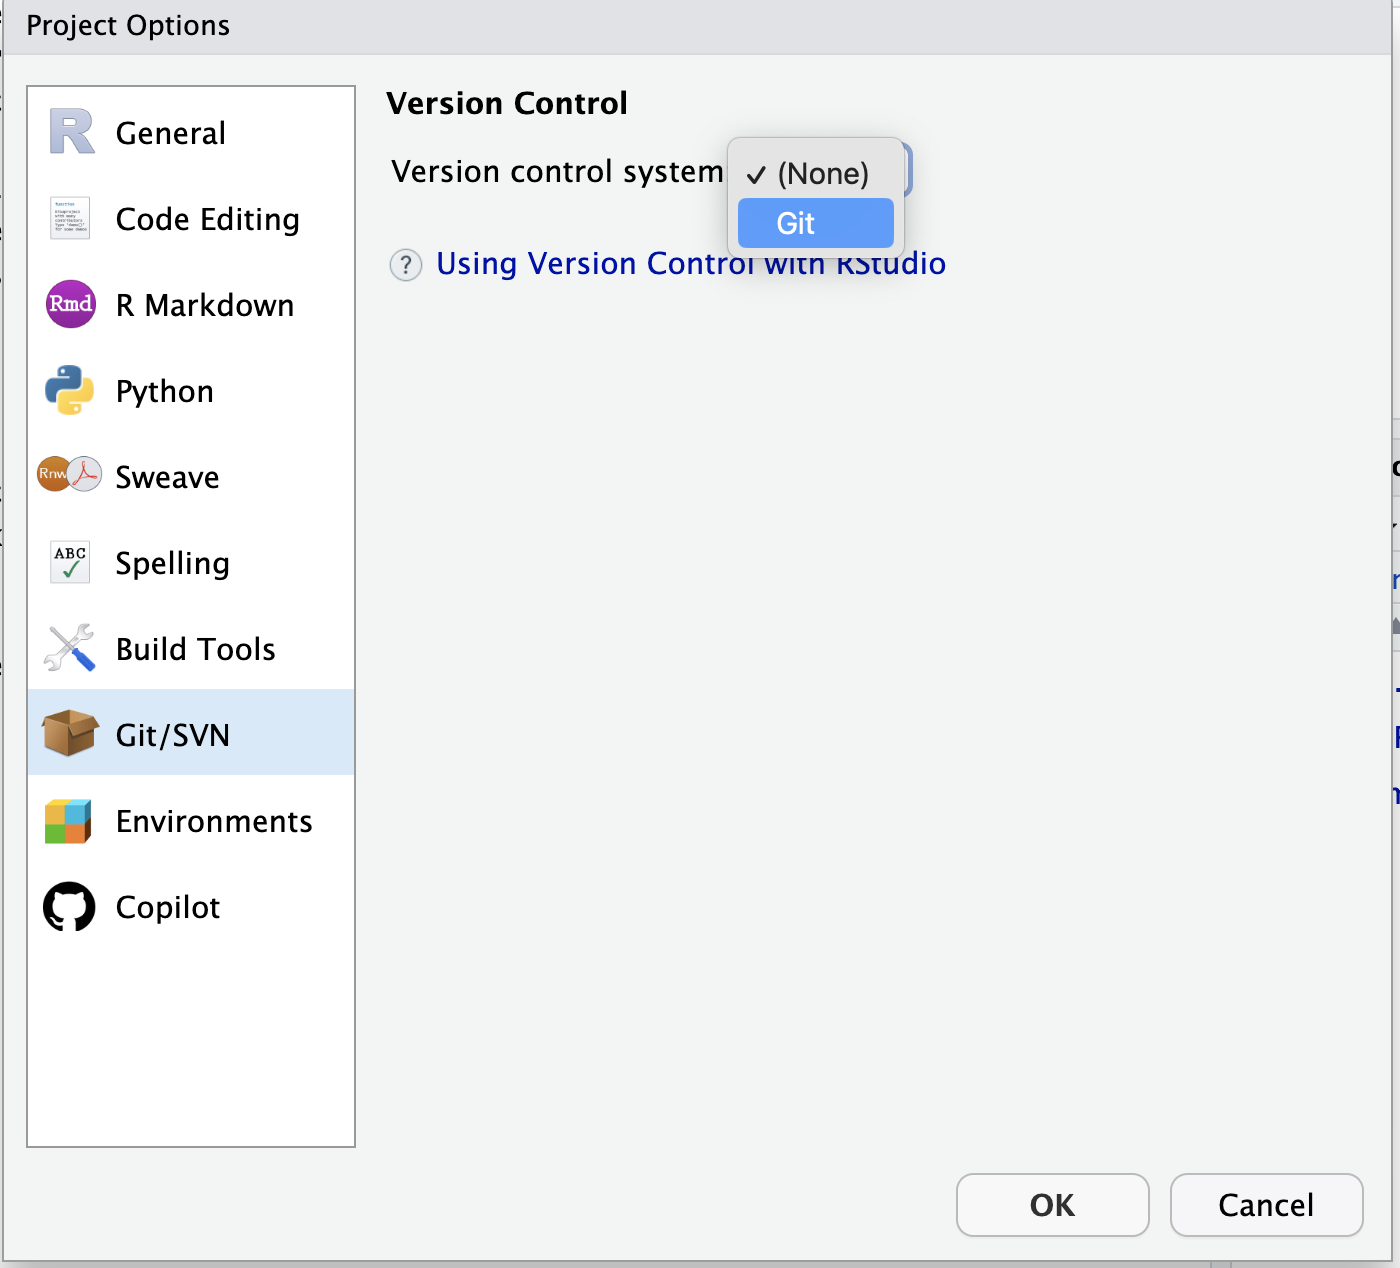
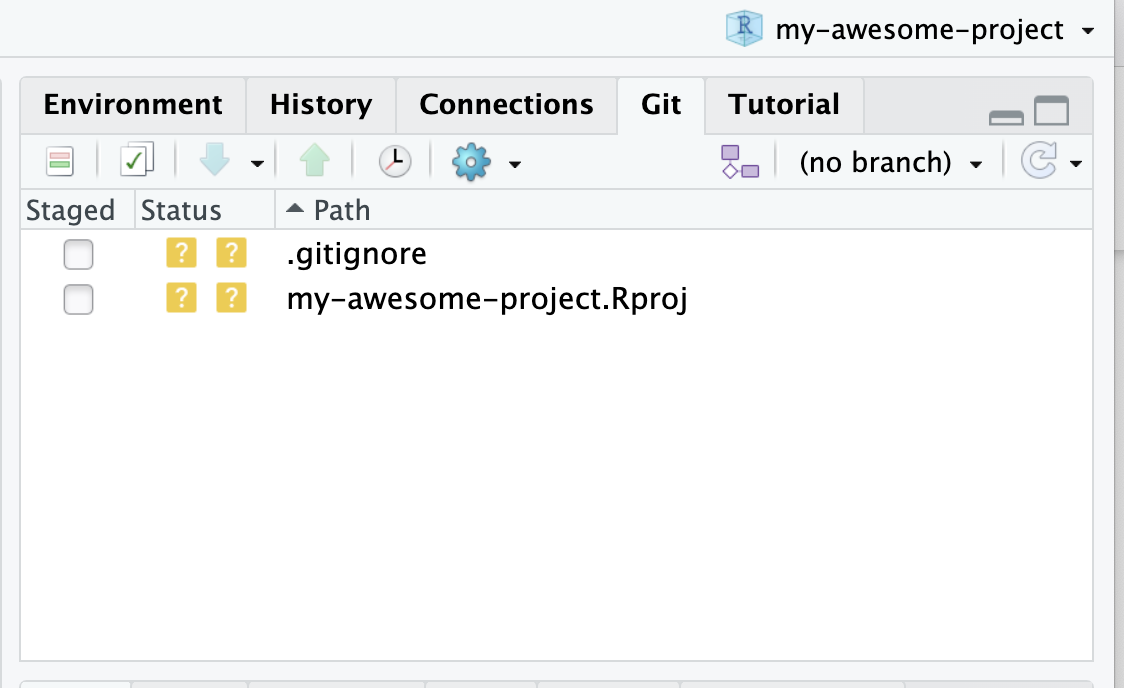
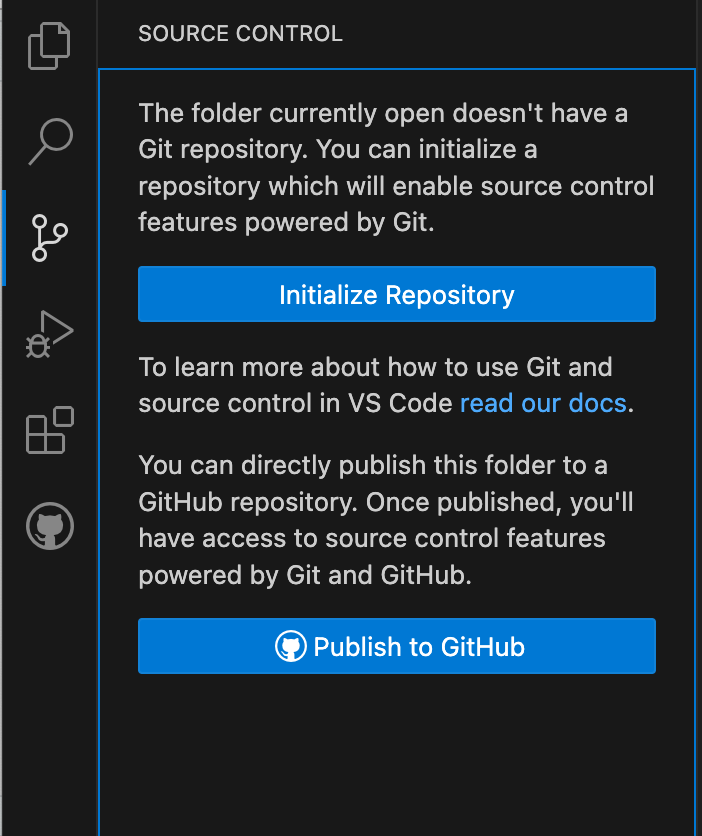
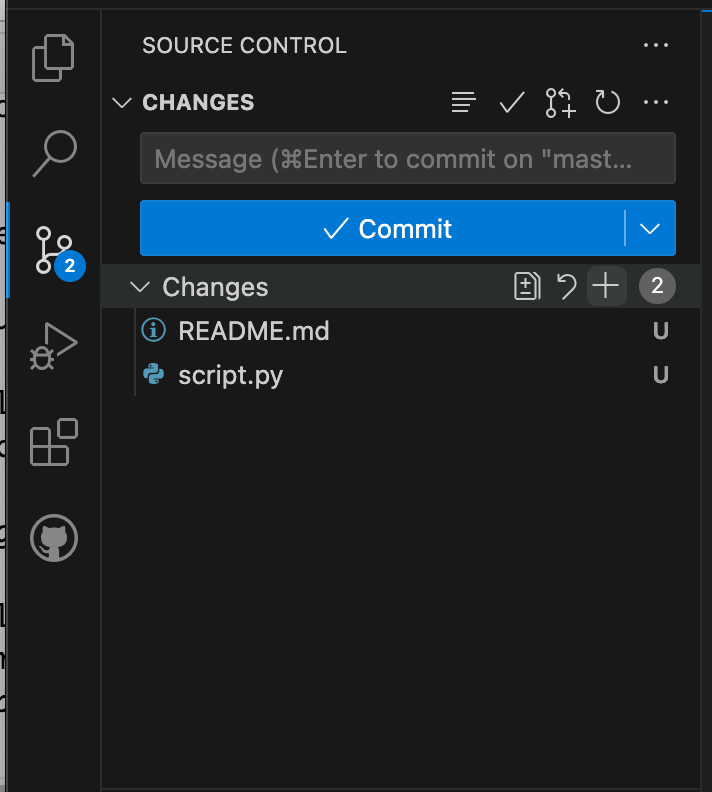
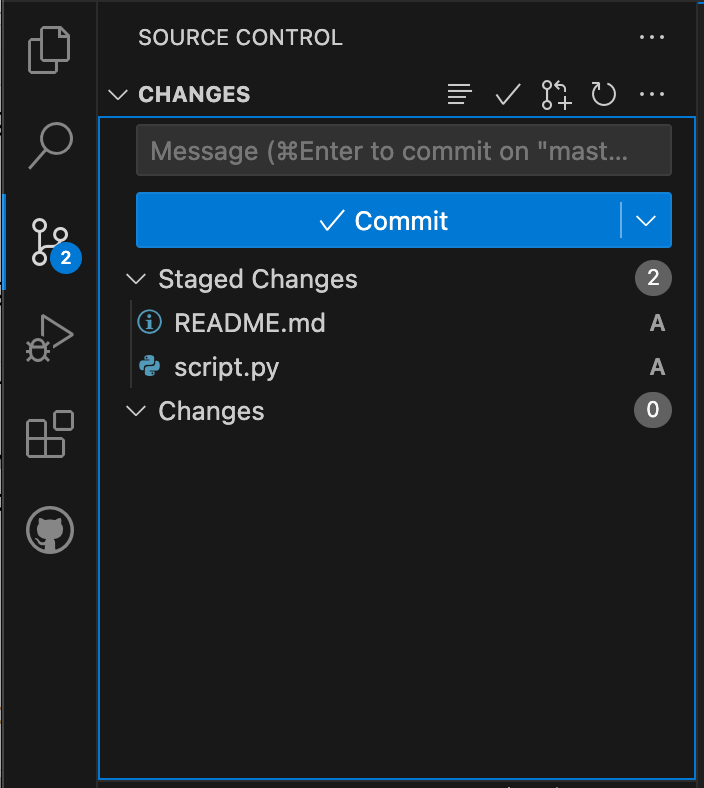
Below are steps for pushing your existing code to GitHub using RStudio or Visual Studio Code. There are many tools to push your code to GitHub (including the command line), but if you are not used to doing this we recommend one of these options.
First install RStudio (recommended for R users) or Visual Studio Code.
Exercise: Push your existing code to GitHub
Wait, what did we just do?
These are the basics for uploading a project to GitHub. We realize we are skipping a lot of details on how git works and how to use it. Our excuse is we want reproducible code on GitHub within a day.
If you want to learn more about git later, you can follow this great lesson.
All prepared for the workshop!
Now that you published your project on GitHub and know how to push new changes to it you are ready for the workshop!
Key Points
- Install Git and create a GitHub account
- Initialize a local git repository for your project
- Add your files to be “monitored” by git
- Commit your changes accompanied by a commit message
- Push your local project to GitHub

